Are you new to Maxon’s Cinema 4D? Or simply looking to improve your workflow? We put together some tips to help you make the most out of Cinema 4D and increase your efficiency with the software!
Maxon’s Cinema 4D R21 announcement, with its ‘3D for the whole world’ strategy, offers new features at a lower cost of ownership. A whole generation of artists can now dive into Cinema 4D to discover what the software has to offer. And, going by the reel below, the possibilities are endless.
We thought we’d offer a few tips to help speed up and optimize your workflows in Cinema 4D. It’s a small (but helpful!) step towards creating the fantastic work that Maxon’s veterans are capable of conjuring.
Did you know?
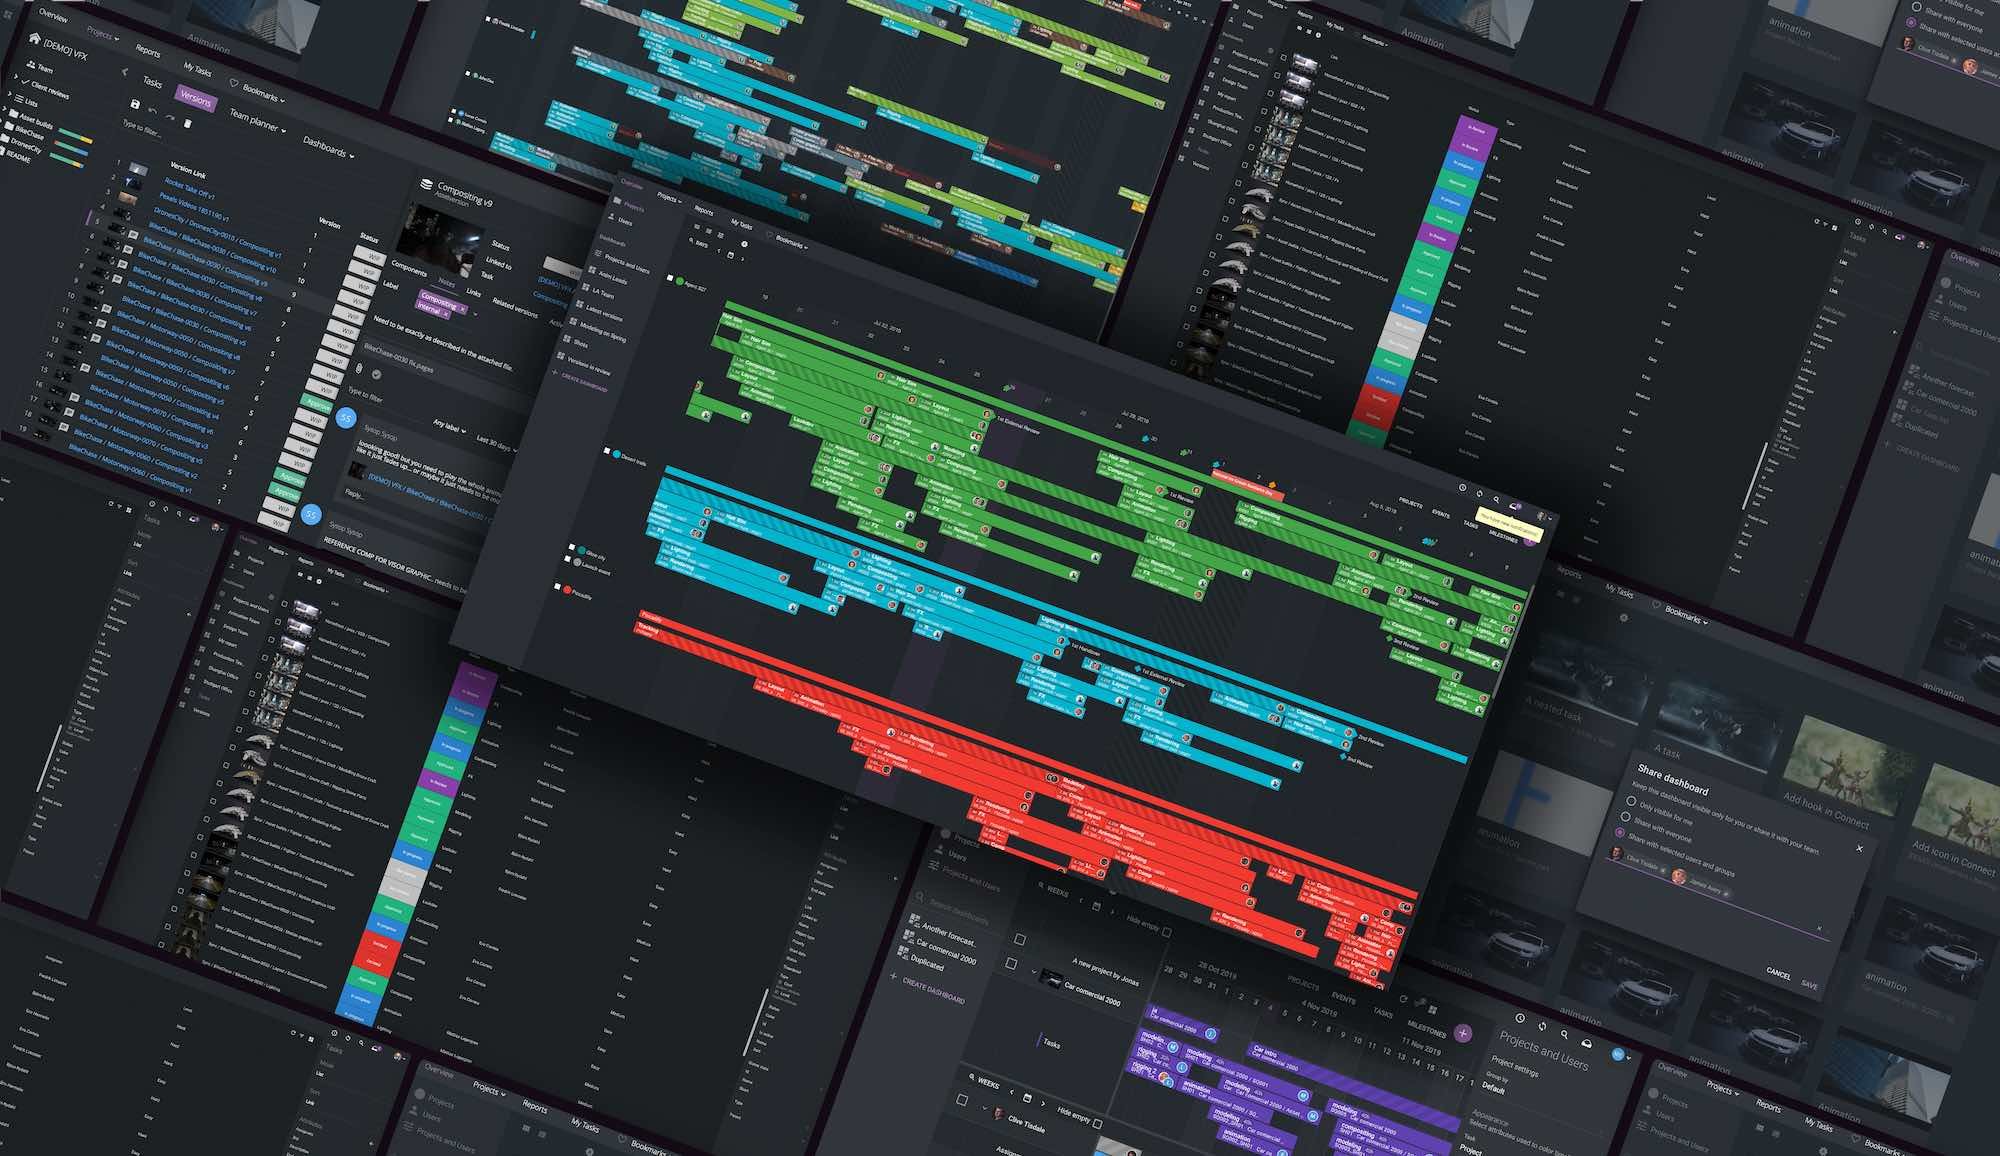
ftrack Studio integrates with Cinema 4D to allow for easy tracking of tasks from directly within in Cinema 4D.
8 tips to increase your efficiency with Cinema 4D
1. Make use of traffic lights
Cinema 4D is a cornerstone of the 3D industry. Why is it so popular? After all, many other packages offer the same features, including motion graphics and character animation.
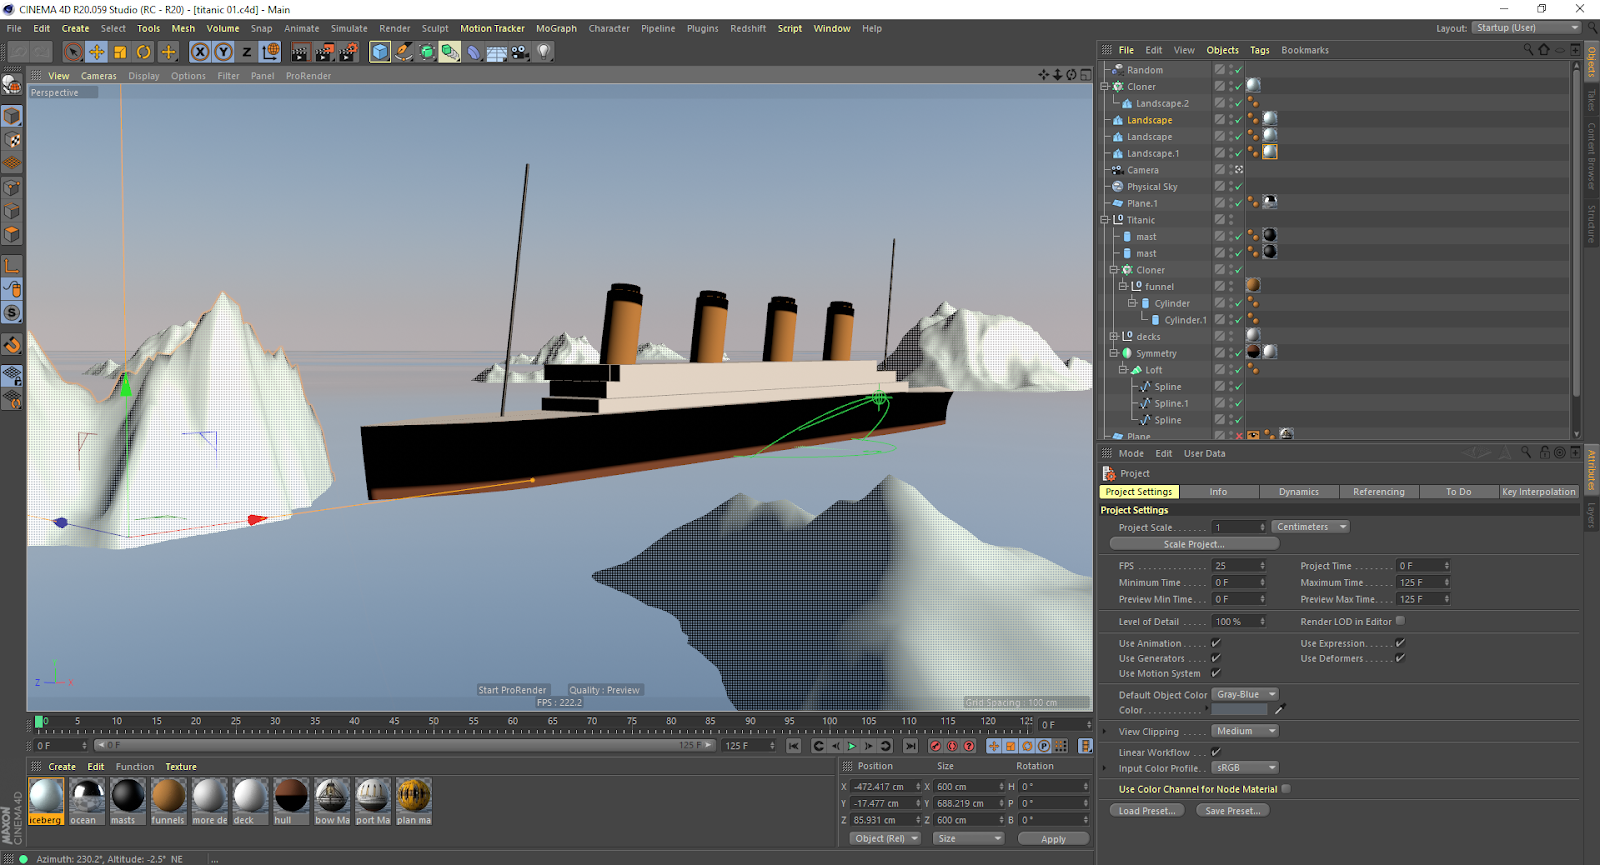
It’s because Cinema 4D arguably offers the lowest learning curve of any of the leading 3D packages. The Cinema 4D UI is simple, clean, and offers gems such as the object list; which in turn provides the easy-to-use ‘traffic light’ system.
Cinema 4D’s traffic lights give artists the ability to see the visibility of an object and what materials, plug-ins, and tags you have applied. You can hide and unhide objects, which can speed up your workflow on complex scenes. You can find a quick tutorial on using traffic lights in Cinema 4D here.
2. Configure Cinema 4D’s UI
Cinema 4D allows you to modify and configure the layout of your Cinema 4. This way, you can better suit it to tasks such as animation, modeling, and UV texturing – or for whatever else you might need it! Access layouts via the ‘Layout’ drop-down, available at the top-right portion of the UI. Palettes can be dragged/locked and added to tabs as desired.
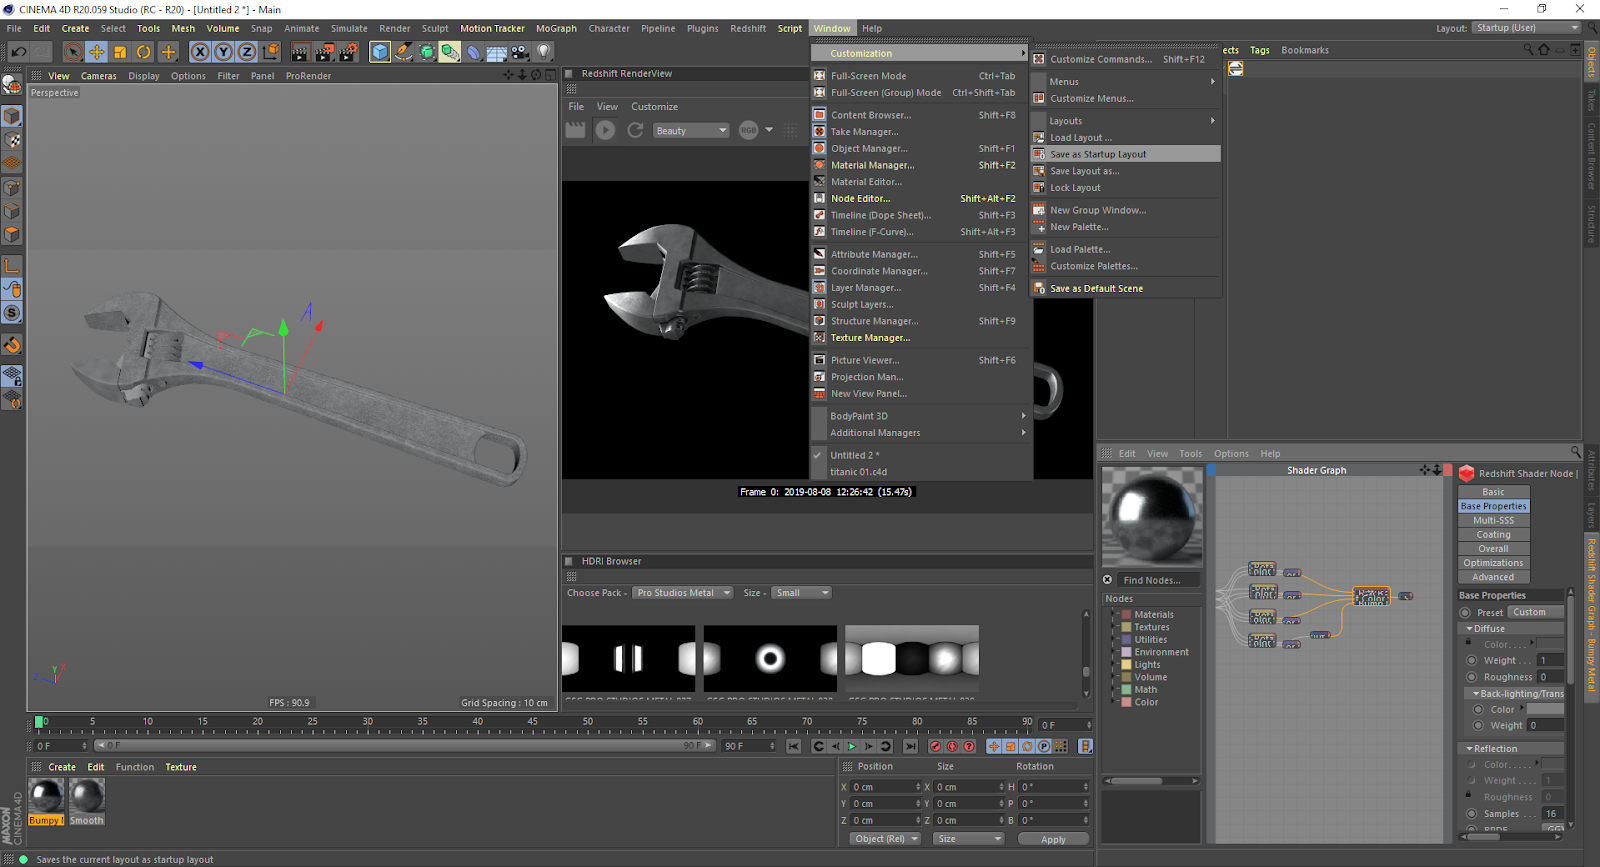
To modify the UI, right-click over practically any part of the Cinema 4D UI – elements can then be resized and dragged. Use the ‘Window>Customization’ menu to access more ways to configure the UI. Tools such as the ‘Customize Commands’ palette can also be used to add Icons to any menu.
Once you’ve customized the Cinema 4D UI to your liking, you can save it by going to the ‘Window\>Customization\>Save Layout as…’. Use ‘Window\>Customization\>Save as Startup Layout’ to make Cinema 4D open directly to your UI of choice!
3. Get to grips with the camera
A common mistake that new Cinema 4D users tend to make is accidentally modeling through the ‘scene’ camera rather than using the ‘Default Camera’. Make sure you’re using the Default!
You might expect that using the ‘Undo’ command will move the camera back to the spot where it’s needed. However, with Cinema 4D you need to use ‘Edit\>Undo (Action)’ or Shift-Z to undo a camera move.
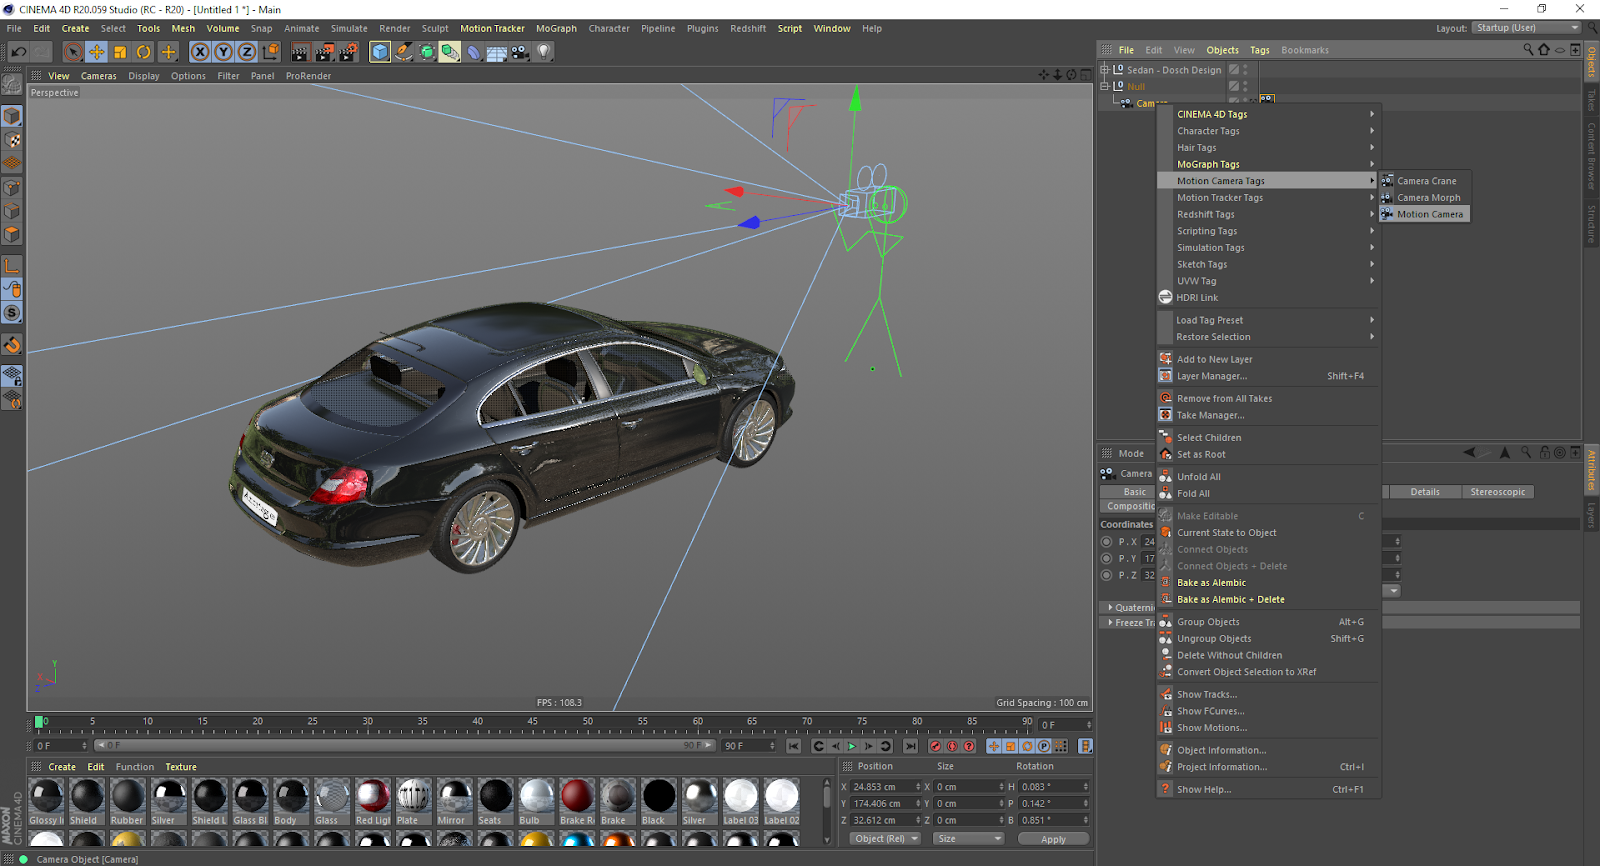
Once you have the right camera in the right place, you can use a variety of tags to help speed things along. Right-click a camera in the Objects List to see the range of tags under the ‘Motion Camera Tags’ heading. ‘Camera Crane’ replicates the movement of a camera on a film set. ‘Motion Camera’ adds a range of movement options to a camera. ‘Camera Morph’ can make a Camera move between the positions of other static cameras; it’s an excellent tool when you need to frame specific parts of a scene.
4. Create complex objects with Volume Modeling
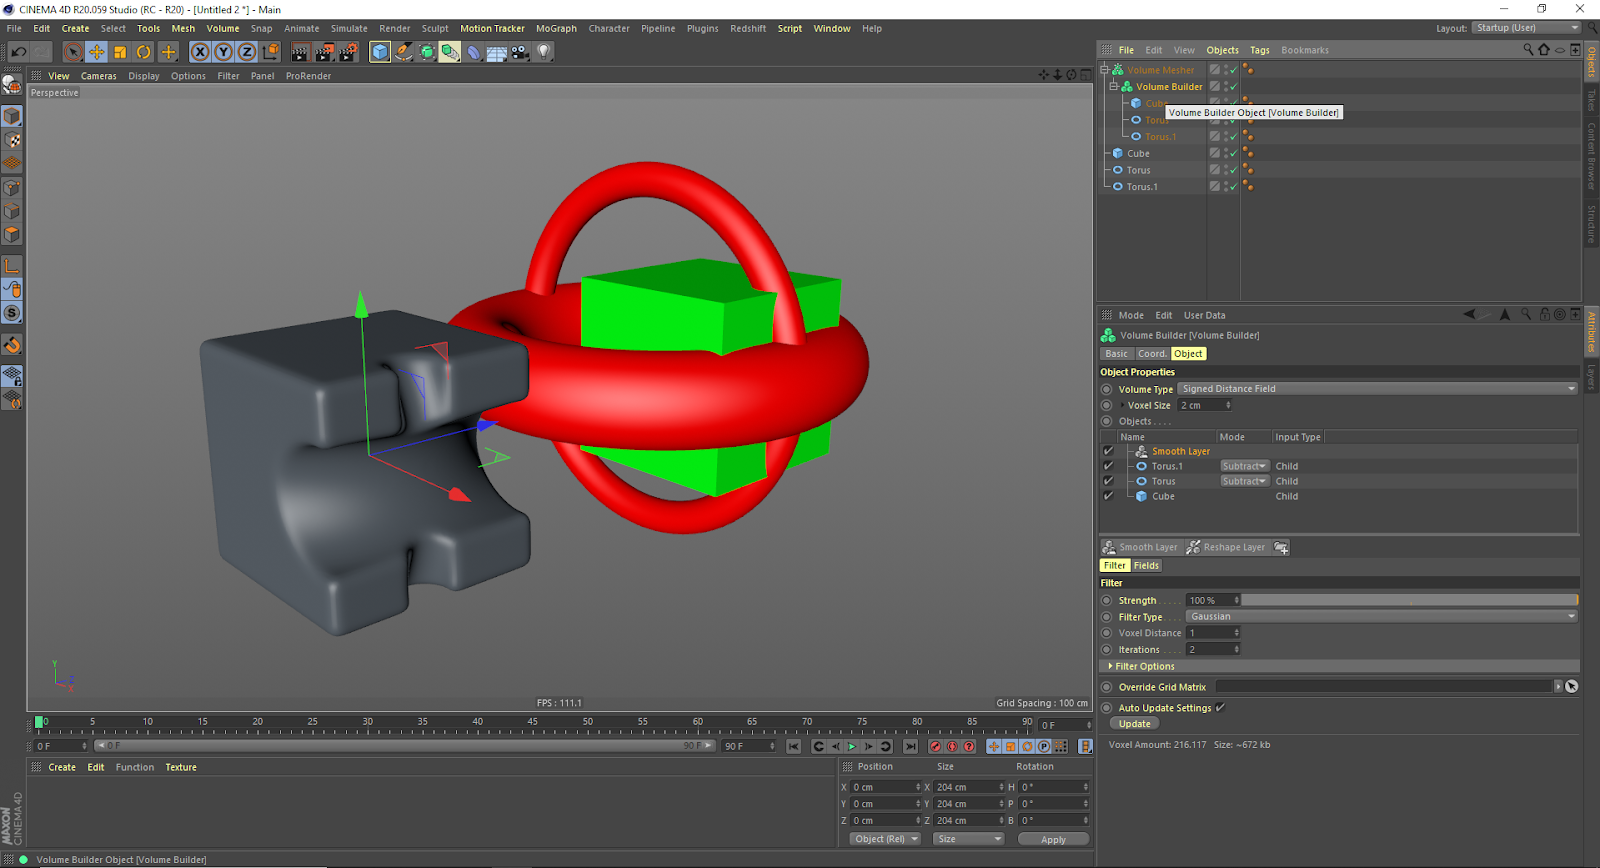
One of Cinema 4D R20’s standout features was its Volume Modeling toolset. This toolset allows any object in Cinema 4D to become a volume. These volumes can be mixed with other shapes either by addition, subtraction, and intersection, which means any artist can create complex forms in minutes.
To make an object a volume, add a ‘Volume Builder’ object and make the mesh a child of it. Adjust the voxel size to a level that suits both the features required and the viewport speed. Add more meshes as children of the Volume Builder. Using the attributes palette, decide if they are to be Union or Subtraction objects. Add a Smoother modifier to refine the object, then make the Volume Builder the child of a Volume Mesher object to make the new mesh.
The best thing about this workflow is that it works with Cinema 4D animation systems like MoGraph and X-Particles too.
5. Increase efficiency with Takes
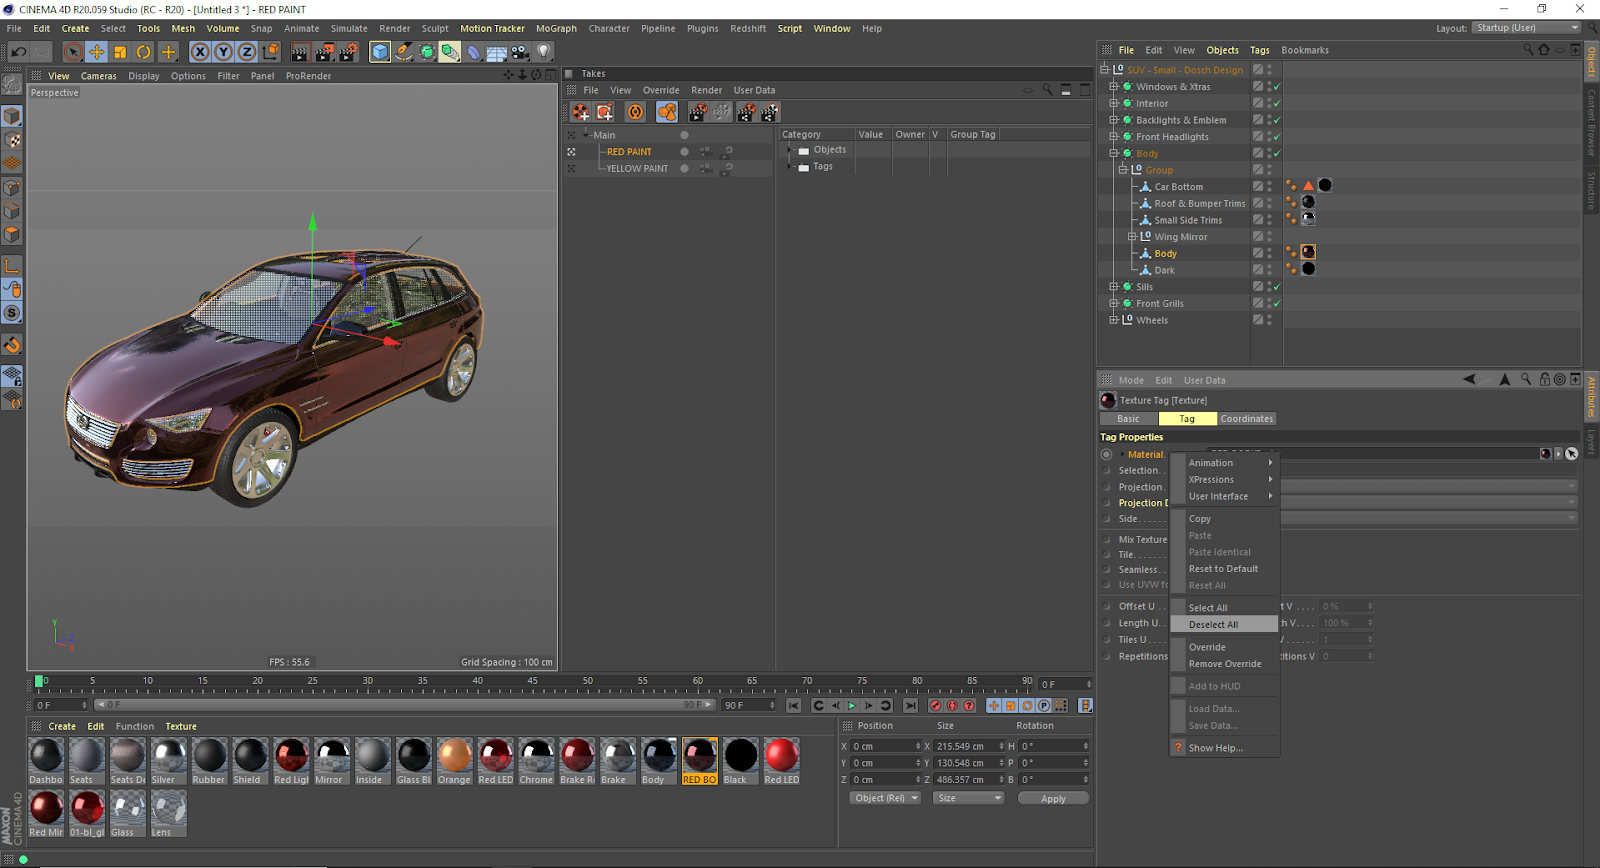
Takes are Cinema 4D’s method of organizing elements within a file to create multiple instances of a scene, without needing to save multiple versions of a file.
Use the ‘Takes’ Palette to create a new take. When the Take is selected, go to a parameter that you would like to change in the attributes panel. When a new Take is selected, attributes are greyed out. Right-click and select ‘Override’ to make the selected parameter active and editable.
You can use Takes when changing materials to animations. Use the camera and render settings icons in the ‘Takes’ menu to create a series of stills from multiple cameras at various sizes. You can select specific Takes by clicking on the circle beside the Take name and going to ‘Render\>Takes\>Render Marked Takes’.
6. Using the After Effects camera
Cinema 4D has an established reputation for working well with Adobe After Effects. The Cineware format even allows users to open Cinema 4D files directly within After Effects.
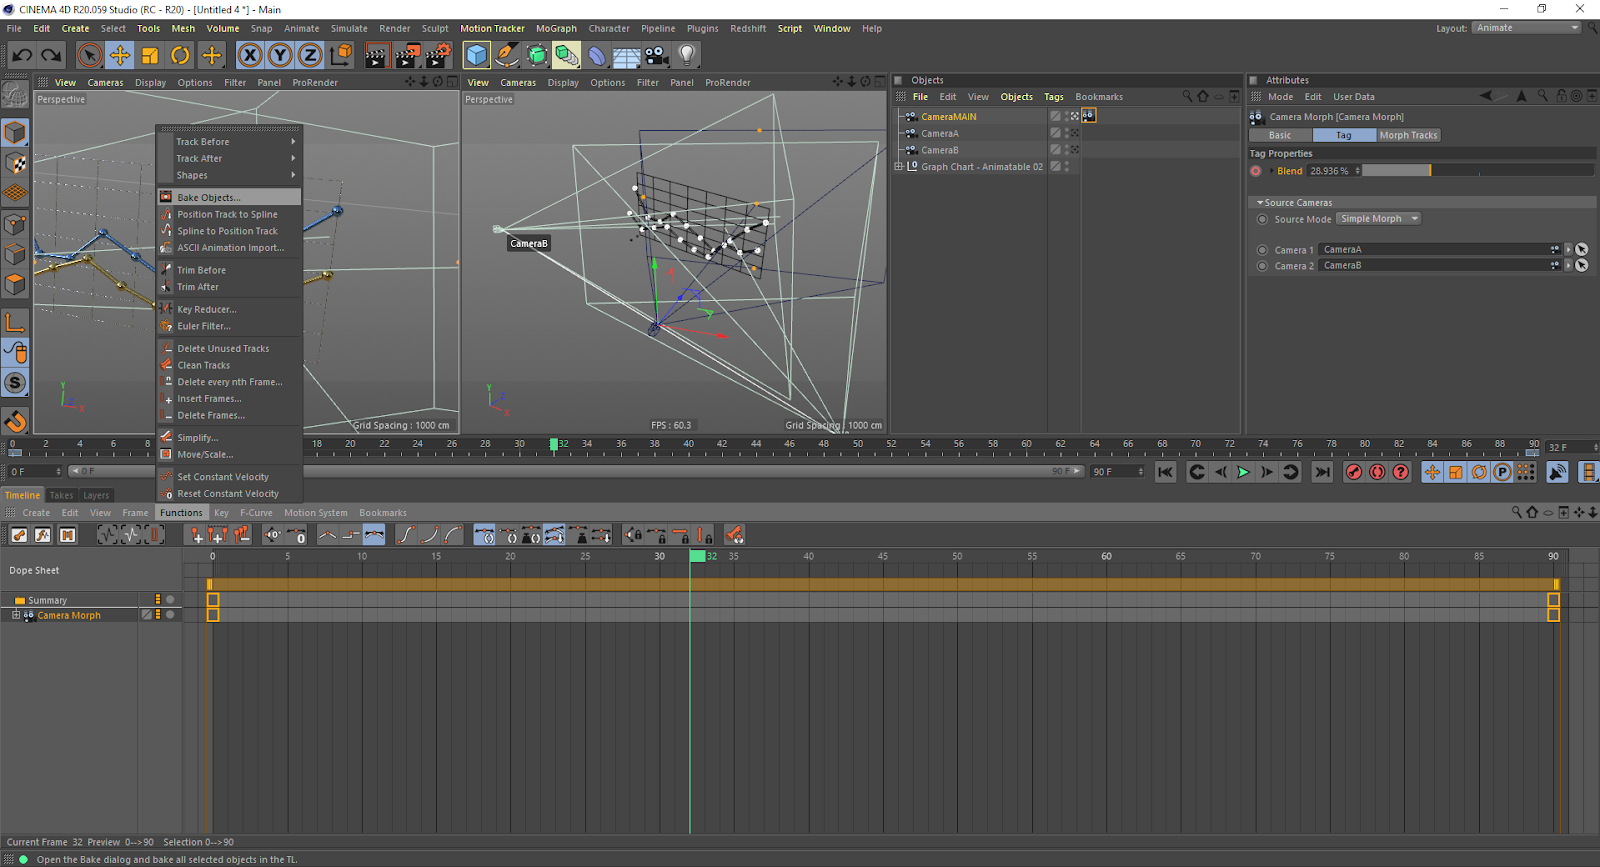
However, complex camera setups, such as a camera with the Camera Morph Tag, do not always translate.
One way to get around this is to use ‘Bake Object’ in the Timeline menu. Select the Camera and the Camera Morph Tag, then on the Timeline Menu select ‘Functions\>Bake Objects’. Select all of the tick boxes, then wait for Cinema 4D to create a new camera with the motion baked in. This process may take a couple of minutes; Cinema 4D will show a progress bar in the bottom left of the screen to keep track of progress.
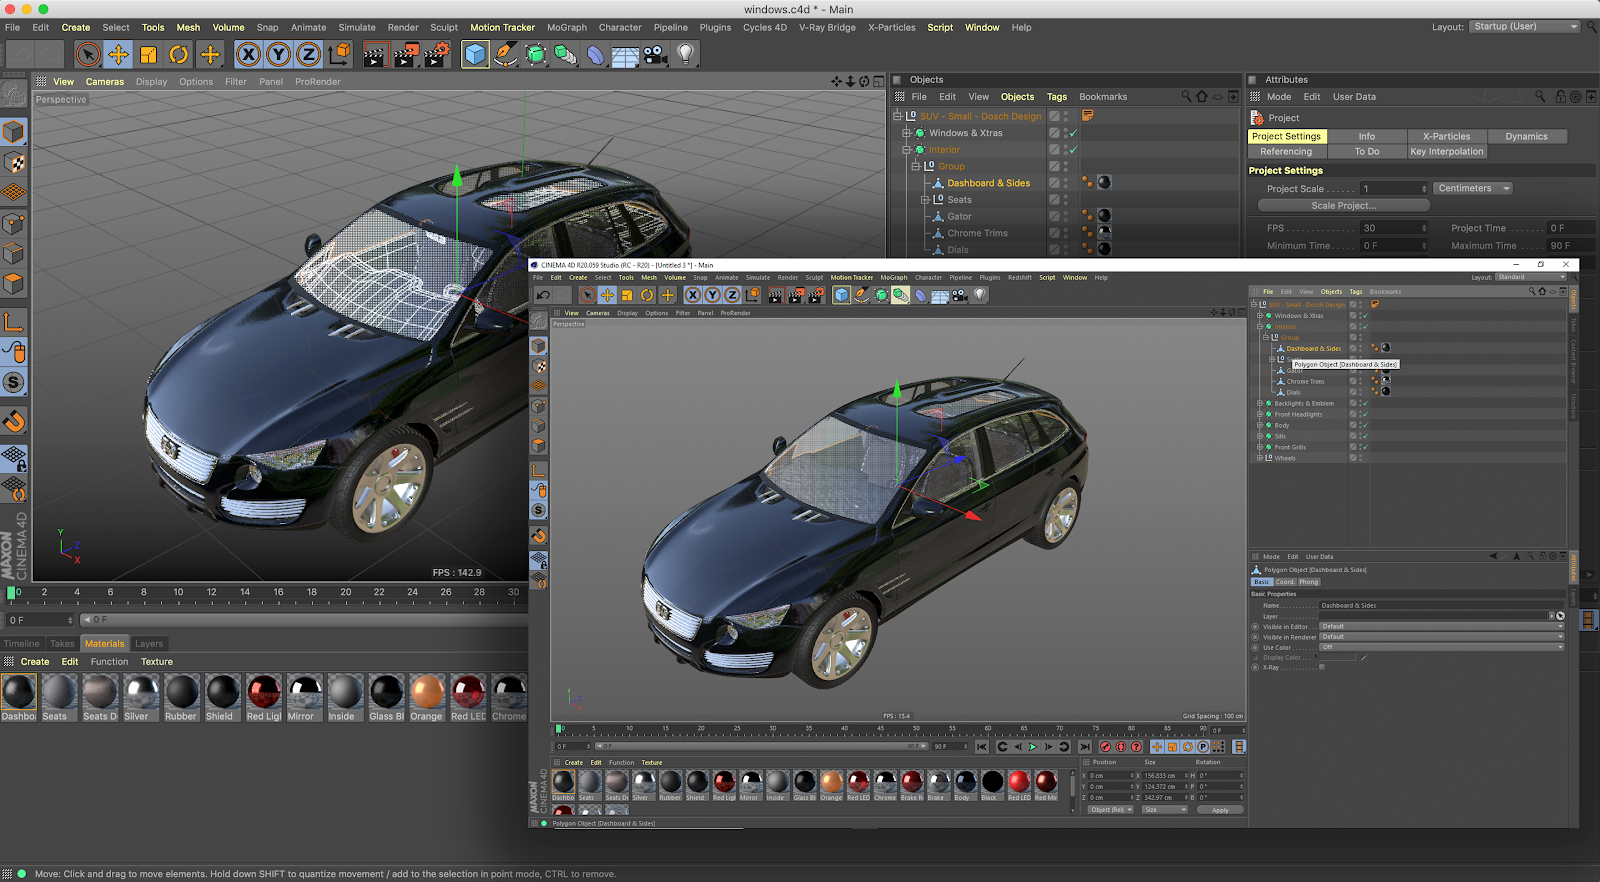
7. Multiple computers = multiple ways to work
Cinema 4D is justly proud of its cross-platform ability. A single license of Cinema 4D can be easily swapped between an artist’s machines, even if they’re going from their PC desktop or their MacBook. Maxon was also singled out at this year’s Apple WWDC for Cinema 4D’s compatibility with the new Mac Pro. This cross-platform capability can come in useful when you’re on the move.
One way that Cinema 4D can really help to boost efficiency, however, is via its network rendering solution Team Render, which comes with any Cinema 4D license. Team Render enables users to link multiple machines in a studio (or at home) into a render farm.
If you have the capability, it’s one way to render scenes and animations far more quickly than is possible on a single computer!
8. Connect with ftrack
ftrack Studio and Cinema 4D work together seamlessly via a dedicated ftrack plugin.
Using this plugin, Cinema 4D artists can post assets, make notes, receive feedback from other team members, and more, all from within the Cinema 4D interface.
Want to try ftrack Studio with Cinema 4D? Try ftrack for free today – you can try the Cinema 4D integration at no extra cost.
More from the blog